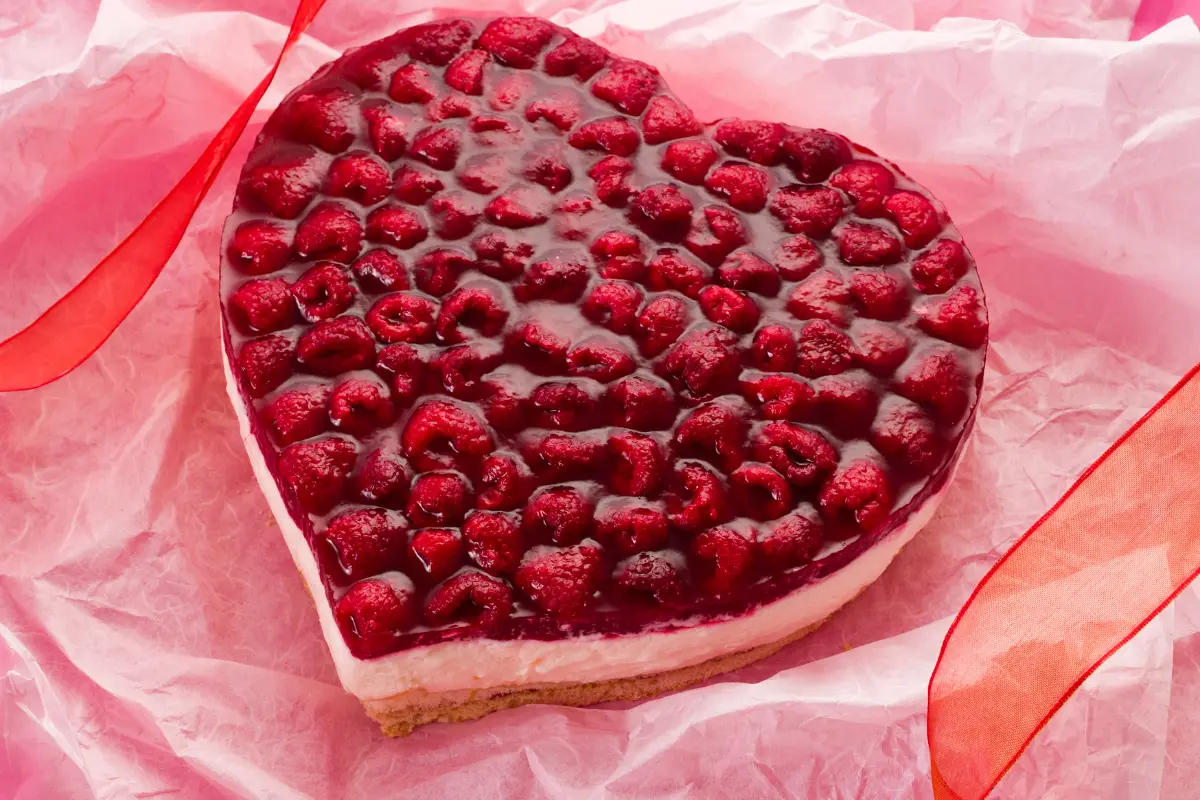
Creating a heart-shaped cake can seem like a task reserved for the most adept of bakers, often evoking images of elaborate pans and intricate decorating tools. Yet, the truth is far simpler and infinitely more accessible. Let’s embark on a delightful journey to debunk the myth that you need specialized equipment to achieve that coveted heart shape, perfect for occasions brimming with love and affection, such as Valentine’s Day, anniversaries, or simply to add a touch of whimsy to a regular day.
Introduction to Heart-Shaped Cakes

The Charm of Heart-Shaped Cakes
Heart-shaped cakes carry with them an aura of love and celebration. They are the epitome of thoughtfulness, a symbol that transforms a simple dessert into a message of affection. Imagine the look of surprise and joy on your loved ones’ faces when you present them with a cake that literally wears your heart on its… well, shape. It’s about crafting moments of happiness, stitched together with flour, eggs, and a whole lot of love.
Why You Don’t Need a Heart-Shaped Pan
Now, here’s the kicker: achieving this emblem of affection doesn’t require you to dash out and hunt down a heart-shaped pan. Oh no, we’re all about simplicity here, folks! With a couple of round cake pans that you likely already have, and a dash of creativity, you’re already halfway there. The magic lies in the cutting and assembling – a simple yet effective technique that morphs the ordinary into the extraordinary. It’s about seeing the potential in what you already possess, turning the mundane into the marvelous with just a serrated knife and a sprinkle of ingenuity.
So, let’s roll up our sleeves and dive into the world of cake cutting techniques and DIY heart cakes. Whether you’re a seasoned baker or someone who’s just starting to flirt with the idea of baking, this guide is your ticket to creating something truly special. By the end of this journey, you’ll not only have a stunning heart-shaped cake but also the knowledge and confidence to tackle even more creative baking projects. After all, who needs a heart-shaped pan when you’ve got skills, creativity, and a little guidance from us?
Necessary Tools and Ingredients for a Heart-Shaped Cake
Tools Required
To kick things off, you’ll need a few basic tools. A serrated knife is crucial for precise cutting, turning a regular cake into a heart-shaped masterpiece. A turntable makes frosting a breeze, giving you smooth, professional-looking results. Don’t forget a couple of piping bags for those beautiful decorations. Lastly, an icing smoother and a small angled spatula will help you achieve that flawless finish. With these tools in hand, you’re ready to tackle any cake-shaping challenge that comes your way.
Ingredients for Your Cake
Now, let’s talk ingredients. For a classic vanilla cake, you’ll need flour, sugar, baking powder, salt, butter, eggs, vanilla extract, and milk. This combo lays the foundation for a soft, fluffy cake that tastes just as good as it looks. Whether it’s for a birthday, an anniversary, or just because, this vanilla cake recipe is a surefire hit.
Ingredients for Decoration
When it comes to decoration, the sky’s the limit. You’ll start with buttercream frosting, the perfect canvas for your creative touches. Coloring adds personality, turning your cake into a visual treat. Think about using various shades of pink or red for a traditional heart feel, or get adventurous with unexpected colors. Piping tips will help you add texture and depth. Whether you opt for simple swirls, elegant roses, or playful stars, these tools and ingredients open up a world of possibilities. Remember, the key is to have fun and let your creativity shine!
Step-by-Step Guide to Baking Your Cake

Preparing the Cake Batter
First, preheat your oven to 350°F (175°C). Grab a large bowl. Whisk flour, baking powder, and salt together. In a separate bowl, cream the butter and sugar until light and fluffy. Beat in the eggs, one at a time, then stir in vanilla extract. Gradually mix in the dry ingredients, alternating with milk. Stir just until the batter is smooth. Pour the batter into two greased 8-inch round pans. Bake for 25 to 30 minutes. A toothpick inserted into the center should come out clean. Let the cakes cool before you start shaping.
Creating the Heart Shape
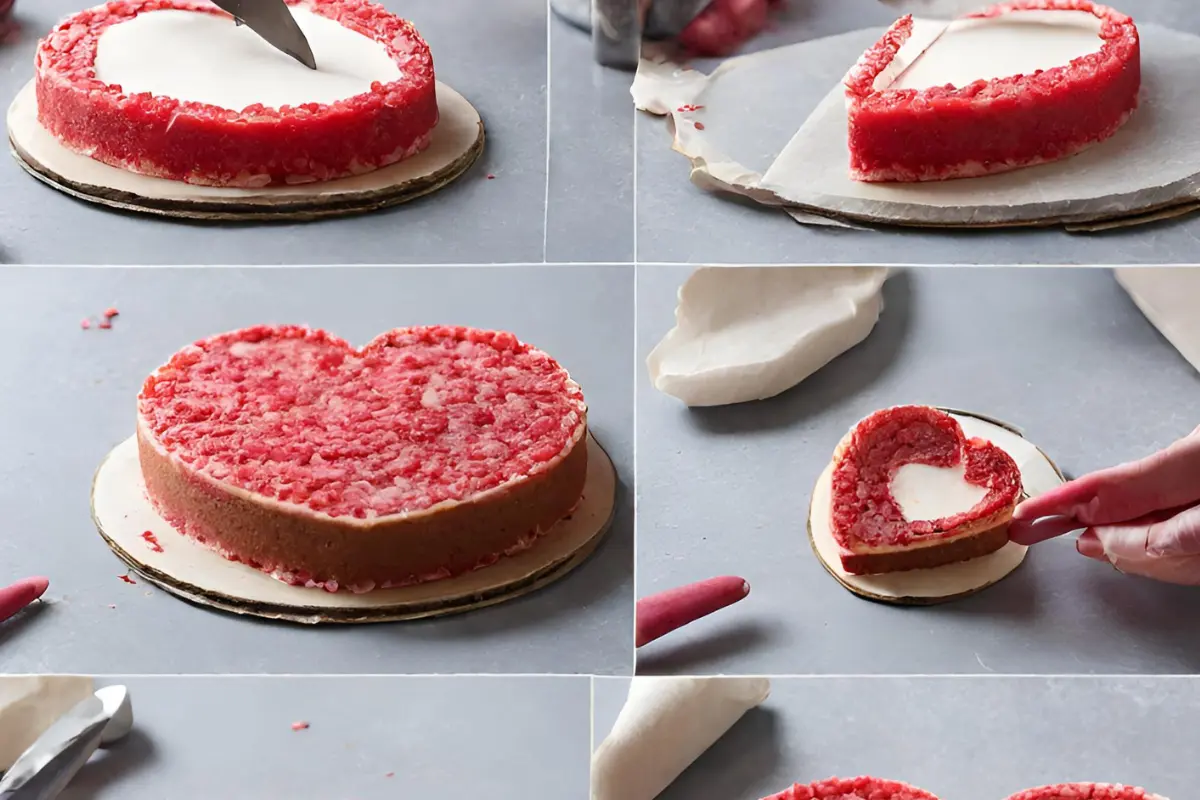
Here’s where it gets fun. Take one cake layer and cut it in half to create two semicircles. These will form the top of your heart. Place the other layer on your base, resembling the bottom of the heart. Trim a small V-shaped notch from the flat side of each semicircle. Attach these to the top of the base layer using a bit of frosting as “glue.” Now you have your heart shape!
Advice for Perfect Shape and Texture
For a cake that’s not just heart-shaped but also heart-stoppingly delicious, remember these tips. First, level your cakes before assembling. This ensures a stable, even heart. Use a serrated knife for clean cuts. Apply a crumb coat of frosting to seal in crumbs and chill the cake before adding the final layer of frosting. This will give you a smooth, professional look. Lastly, don’t rush the cooling process. Letting the cakes cool completely ensures they hold their shape and makes them easier to cut and decorate. Follow these steps, and you’re on your way to creating a beautiful, delicious heart-shaped cake.
Frosting and Decorating Your Heart-Shaped Cake

Applying the Crumb Coat
The crumb coat is your first step in decorating. It acts like a primer for your cake, sealing in crumbs. To start, spread a thin layer of frosting all over the cake. Use a small spatula for this. The goal isn’t to look perfect but to create a smooth base. This step is crucial for a clean final look. After applying, chill the cake for about 30 minutes. This firmness makes the next frosting layer easier to apply.
Final Frosting and Smooth Finishing
Once the crumb coat sets, add the final frosting layer. Aim for a thicker layer than the crumb coat. Use an icing smoother for the sides. For the top, drag the frosting towards the center with a small spatula. This method gives you sharp edges and a flat top. If you want a smooth finish, dip the spatula in warm water. This trick makes smoothing out the frosting much easier.
Decorative Tips and Tricks
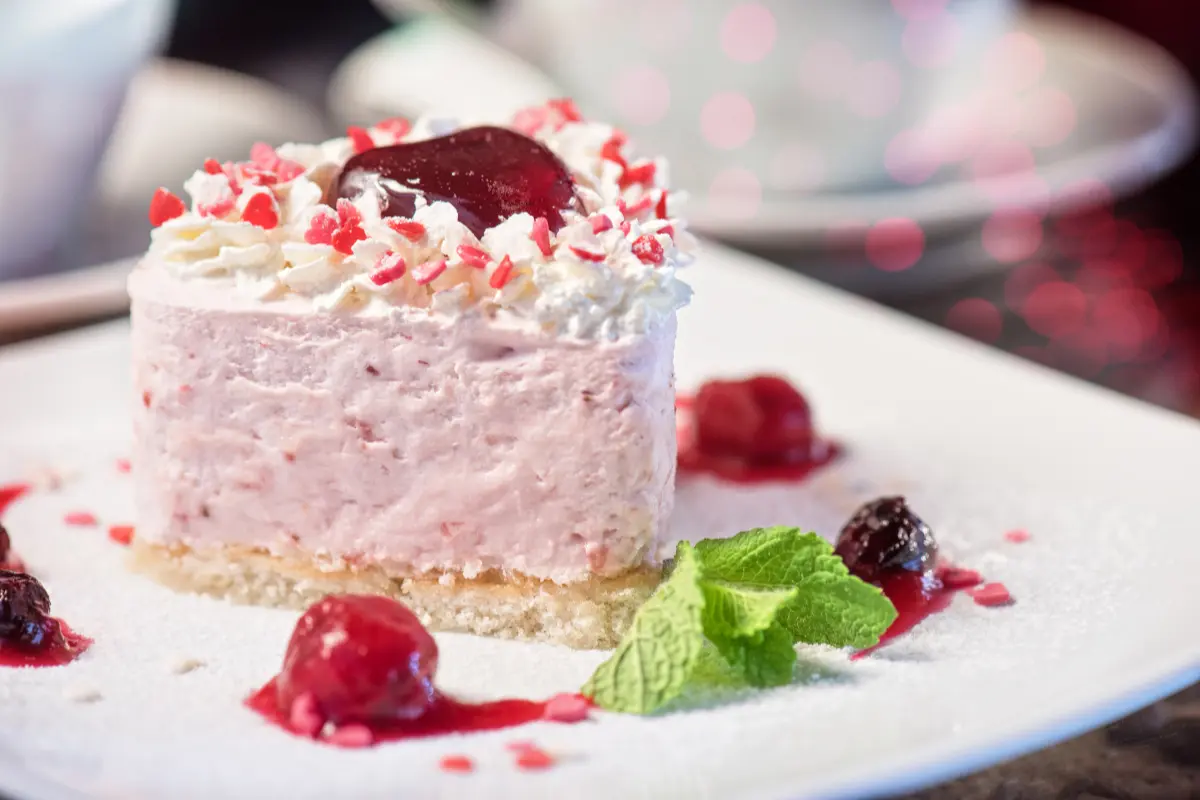
Now, let your creativity flow! Use piping bags fitted with different tips for various effects. Swirls, stars, and rosettes add texture and depth. For a romantic look, opt for soft pinks and reds. But feel free to experiment with colors. Metallics can add a touch of elegance, while bright colors bring fun and whimsy. Adding sprinkles or edible flowers creates an extra layer of detail. Remember, there’s no right or wrong here. Each cake is a reflection of your personal style.
Alternative Ways to Decorate Your Heart-Shaped Cake
Using Different Piping Techniques
Piping can transform a simple cake into a work of art. Different tips create unique textures and patterns. For example, a star tip can make stunning rosettes or sharp-edged stars. A round tip is perfect for writing messages or making dots. To add complexity, use a leaf tip for delicate leaves or a petal tip for intricate flowers. Experimenting with these can add depth and intrigue to your cake’s design.
Adding Color and Flair
Colors bring life to your cake. Pastels offer a soft, romantic vibe, perfect for anniversaries or Mother’s Day. Bold colors can turn your cake into a vibrant centerpiece for a party. For something truly unique, try a watercolor effect by blending different shades of frosting. Edible gold leaf or metallic sprays add a touch of elegance. Don’t forget about texture! Sprinkles, edible glitter, or crushed candy can add a fun, unexpected twist. Let your imagination lead the way and make your heart-shaped cake a reflection of your creativity.

