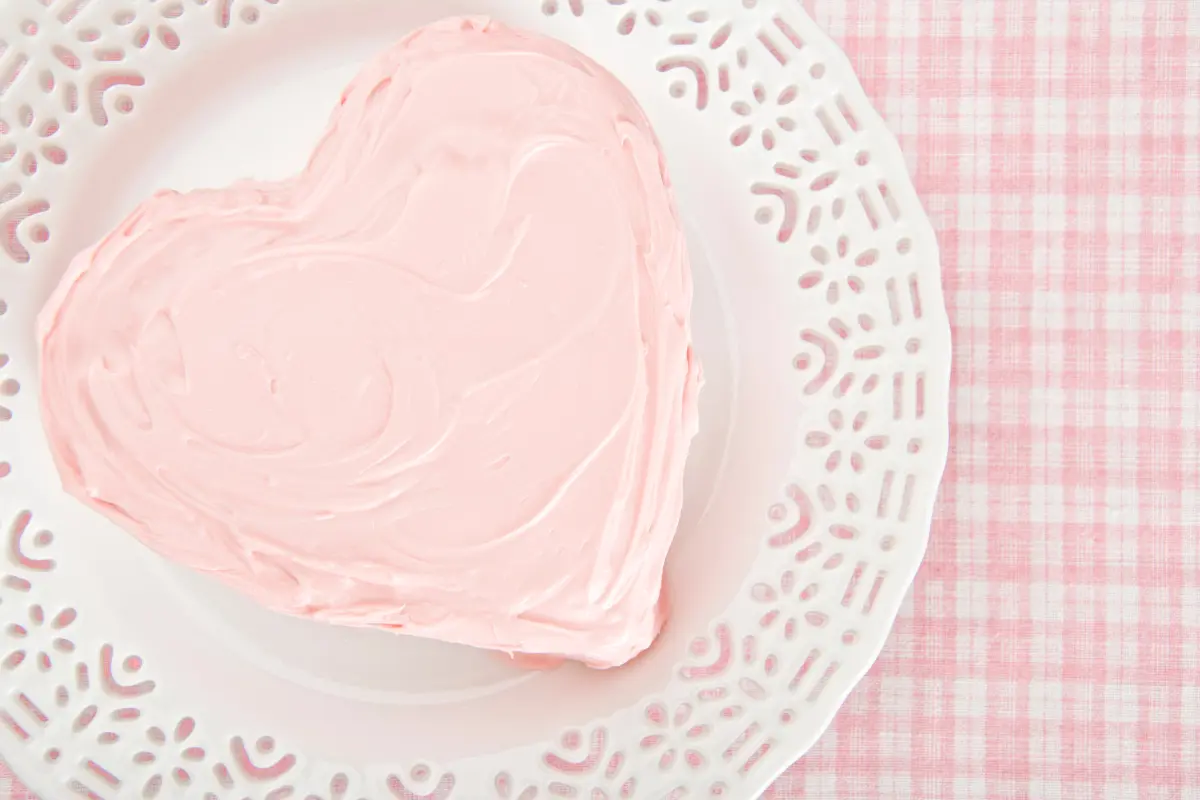
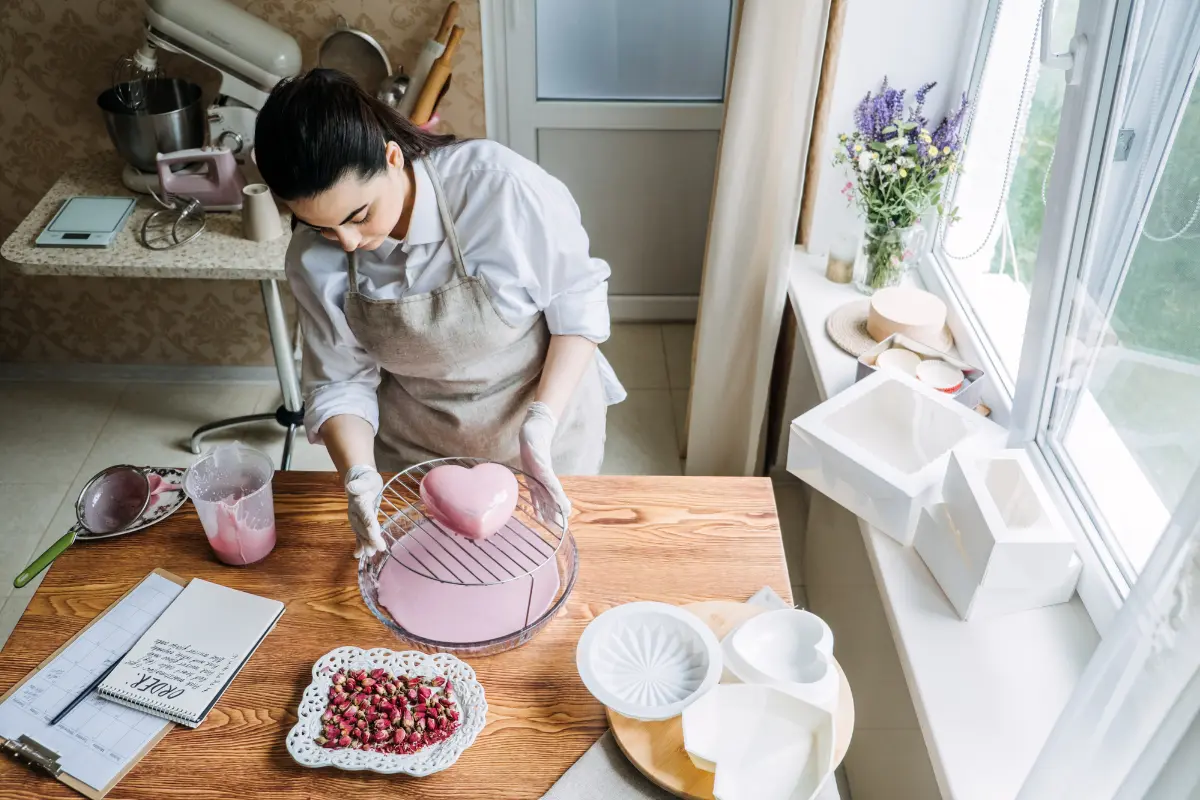
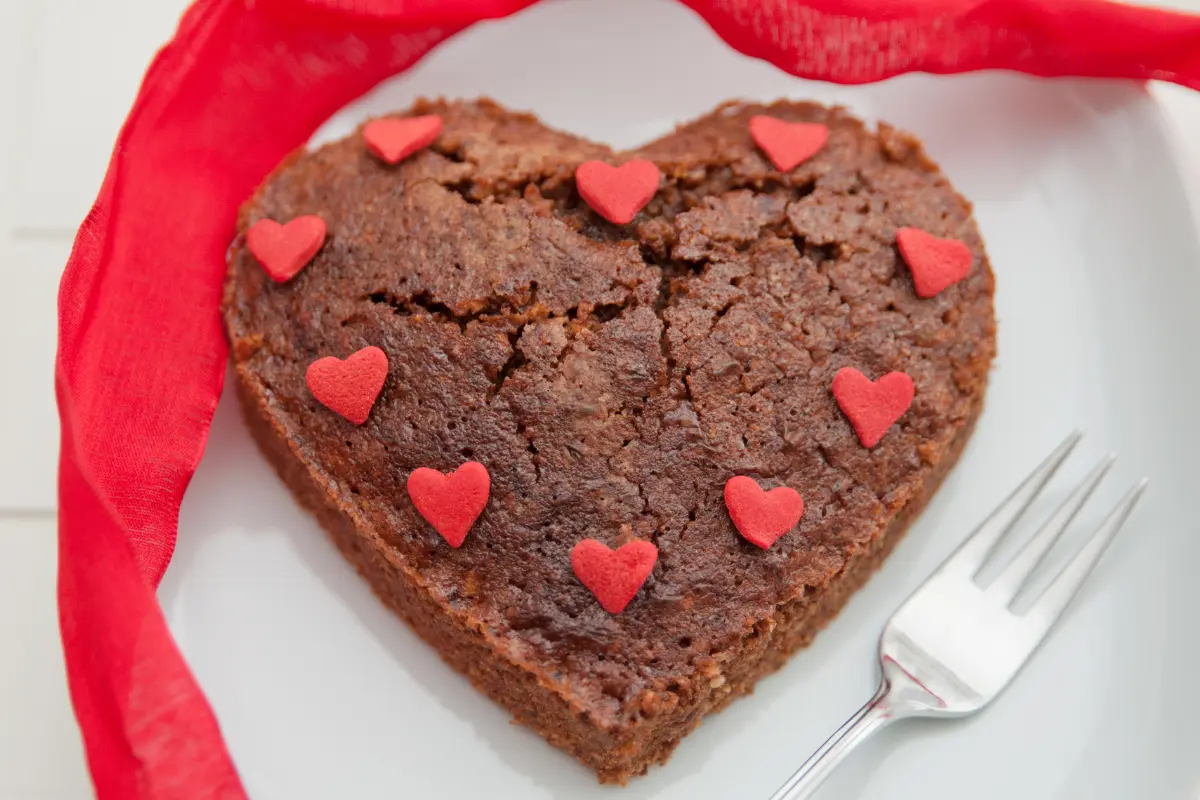
Baking is an art form that marries creativity with precision, and nowhere is this more evident than in the challenge of crafting a heart-shaped cake without the convenience of a specialized pan. It’s a testament to the baker’s ingenuity, transforming the ordinary into the extraordinary with a few clever techniques and a dash of imagination.
Introduction to Heart-Shaped Cake Without a Heart-Shaped Pan
The Creativity Behind Baking
Ah, the heart-shaped cake! It’s the quintessential symbol of love and affection, perfect for Valentine’s Day, anniversaries, or any day you want to show a little extra love. But what if you’re itching to bake that emblem of affection and realize you don’t own a heart-shaped pan? Well, fear not, dear baker, because where there’s a whisk, there’s a way!
Embarking on this baking journey, we’re about to prove that all you need is a standard square and round cake pan to achieve that coveted heart shape. It’s all about seeing the potential in the tools you already have at your disposal and getting a bit crafty with them. This approach not only saves you a trip to the store but also adds a personal touch to your creation that a store-bought cake just can’t match.
In this guide, we’ll dive into the nuts and bolts of baking a heart-shaped cake using pans you’ve already got in your kitchen. From the basics of mixing your batter to the final flourishes of decoration, we’ll cover it all. Plus, we’ll sprinkle in some pro tips and tricks to ensure your cake is as delicious to eat as it is delightful to behold.
So, grab your aprons, and let’s get baking! With a pinch of creativity and a dollop of enthusiasm, you’re about to discover that making a heart-shaped cake without a heart-shaped pan is not just possible but downright fun. This journey will not only teach you about baking but also about thinking outside the box and using your resources wisely. Let’s create something truly special that will warm the hearts (and tummies) of your loved ones.
Understanding Cake Baking
Ingredients and Equipment
Before diving into the heart of our cake-making adventure, let’s get the basics down pat. Baking a cake, especially a heart-shaped cake, starts with gathering the right ingredients and equipment. You’ll need the usual suspects: flour, sugar, eggs, butter, and baking powder. Don’t forget the star of the show for a red velvet heart cake – red food coloring. And, a dash of vanilla extract adds that kiss of flavor we all love.
Now, for the equipment. You might think you need a heart-shaped pan, but hold your horses! We’re here to use what’s already in your kitchen. Grab a round and a square pan of the same size. These two will work together like a charm to create our heart shape. Ensure you have mixing bowls, a whisk or mixer, and measuring cups and spoons ready to go.
Achieving the Heart Shape Without a Heart-Shaped Pan

Techniques and Tips
Now, let’s tackle the heart of the matter – shaping your cake without a special pan. First, bake one square and one round cake. Once cooled, cut the round cake in half to make two semi-circles. Place your square cake like a diamond on your serving plate. Then, position the two halves of the round cake on the top sides of the square. Voilà! You’ve got a heart shape.
Here’s a tip: before you start assembling, trim the tops of the cakes to make them flat. This makes them easier to frost and ensures your heart looks perfectly put together. Speaking of frosting, choose a smooth, spreadable frosting. It’ll act like glue, keeping your cake pieces together and giving your heart a seamless look.
Remember, baking is as much about enjoying the process as it is about the final product. So, take your time, enjoy the rhythm of mixing, pouring, and crafting your heart-shaped masterpiece. With these techniques and a sprinkle of patience, you’ll bake a heart-shaped cake that’s sure to impress, all without the need for a special pan.
Heart-Shaped Cake Recipe
Ingredients List
Let’s bake a heart that tastes as sweet as it looks! You’ll need:
- 2 cups all-purpose flour
- 1 1/2 cups granulated sugar
- 3/4 cup butter, softened
- 3 large eggs
- 1 cup buttermilk
- 2 tsp vanilla extract
- 1 1/2 tsp baking powder
- 1/2 tsp salt
- Red food coloring (for that lovely heart hue)
Directions and Baking Advice
Step 1: Prep Your Pans and Preheat Oven
Start by preheating your oven to 350°F (175°C). Grease your square and round pans. Dust them lightly with flour to prevent sticking.
Step 2: Mix Dry Ingredients
Whisk together flour, baking powder, and salt in a bowl. Set it aside. This mix is the foundation of your cake.
Step 3: Cream Butter and Sugar
In a separate bowl, beat the butter and sugar until light and fluffy. This step is crucial for a tender cake.
Step 4: Add Eggs and Vanilla
Beat in the eggs, one at a time, then stir in vanilla. Each egg must fully blend before adding the next.
Step 5: Combine with Dry Ingredients
Alternately add the dry ingredients and buttermilk to the butter mixture. Start and end with the dry mix. This method keeps the batter smooth.
Step 6: Color It Red
Add red food coloring gradually. Stop when you reach a vibrant red. The exact amount can vary, so trust your eye!
Step 7: Bake
Pour batter into the prepared pans. Bake for 25-30 minutes. A toothpick inserted into the center should come out clean.
Step 8: Cool and Assemble
Let cakes cool before cutting the round one in half and assembling as described earlier. A thin layer of frosting between pieces helps them stick.
Baking Advice:
Don’t rush the cooling process. A cool cake is easier to cut and less likely to crumble as you assemble your heart shape. If the cake tops dome while baking, gently trim them flat with a serrated knife for an even surface to decorate.
With these steps, you’ll have a beautiful, heart-shaped cake that tastes as good as it looks. Enjoy the baking journey and the joy it brings!
Decorating Tips for Your Heart-Shaped Cake

Creative Ideas for Decoration
Now that you’ve baked your heart-shaped masterpiece, it’s time to give it the wow factor with some decoration. Decorating your cake is where you can really let your creativity shine. Here are some tips and ideas to get you started.
Tip 1: Smooth Frosting Base
Start with a smooth layer of frosting over your cake. Use an offset spatula for an even coat. This layer acts as a canvas for your decoration.
Tip 2: Colorful Frosting
Consider using different colors for your frosting. Pipe borders or create ombre effects from the center to the edges of the heart. A palette of pinks and reds works great for a love-themed cake.
Tip 3: Add Textures
Textures can add depth to your cake. Use a piping bag with different nozzles to create stars, rosettes, or ruffles. These details can transform a simple cake into an elegant showstopper.
Tip 4: Edible Decorations
Sprinkle edible decorations like sprinkles, sugar pearls, or even fresh flowers for a natural touch. Make sure anything you place on the cake is food safe.
Tip 5: Personalize It
For that personal touch, consider adding a message or initials on the cake with icing. This makes the cake not just a treat, but a heartfelt message.
Tip 6: Practice Makes Perfect
If you’re trying a decoration technique for the first time, practice on parchment paper first. This way, you’ll feel more confident when it’s time to decorate the actual cake.
Remember, the goal is to have fun and express your affection through baking. Your heart-shaped cake, adorned with love and creativity, is sure to delight anyone who sees (and tastes) it. So, grab your frosting and decorations, and let’s make your cake a feast for the eyes!
Alternative Methods for Shaping Your Cake
Using Molds and Hand-Carving
Don’t have the right pans? No problem. Let’s explore some alternative methods to shape your cake into a heart without them.
Molds:
Silicone molds offer a flexible option. You can find them in various shapes, including hearts. Pour your batter into the heart-shaped mold and bake as directed. Silicone ensures easy release once the cake has cooled. Remember, baking times may vary, so keep an eye on your cake.
Hand-Carving:
Feeling adventurous? Try hand-carving your cake into a heart. Bake your cake in a rectangular pan. Once cooled, draw a heart on paper and use it as a stencil. Carefully cut around the stencil with a sharp knife. Hand-carving allows for custom sizes and adds a personal touch.
Tips for Success:
- Chill your cake before carving. It reduces crumbs and makes cutting easier.
- If using molds, check for oven-safe ratings and maximum temperature.
- Combine hand-carving with the two-pan method for unique shapes.
These alternatives to traditional pans invite you to experiment and have fun with your baking. Whether you choose a mold for convenience or hand-carve for a custom creation, the result is sure to be a heartwarming treat.
Frequently Asked Questions
Questions from ‘People Also Ask’
How to make a heart cake without a heart pan?
You can create a heart-shaped cake by using a square and a round pan. Bake one square cake and one round cake. Cut the round cake in half to make two semi-circles. Place the square cake turned on its point, like a diamond, and put the semi-circles at the top sides. This method forms a heart shape without needing a special pan.
Can you make a heart-shaped cake out of a round pan?
Yes, but you’ll also need a square pan of the same width as the round one. The round cake gets cut in half and placed on two adjoining sides of the square cake. This combination creates a heart shape.
How do you make a heart shape without mold?
Aside from the method using square and round pans, you can hand-carve a heart from a larger cake. Bake your cake in a rectangular pan. After cooling, sketch or use a paper template to cut out a heart shape with a sharp knife.
How to make a heart-shaped cake with foil?
To shape a cake with foil, tightly pack foil into a heart-shaped outline inside a larger pan, creating a custom mold. Pour your batter into this heart-shaped space and bake. The foil acts as a barrier, shaping the cake as it bakes. Be sure to grease the foil for easy cake release.
These FAQs cover the basics of crafting a heart-shaped cake without specialized equipment. With a bit of creativity and some household items, you can easily make a beautiful heart-shaped cake for any occasion.
Wrapping Up
Summarizing Key Points
In our journey to bake a heart-shaped cake without a heart-shaped pan, we’ve explored a variety of creative solutions. From using square and round pans together to craft the perfect heart shape, to alternative methods like silicone molds and hand-carving, we’ve seen that a little ingenuity goes a long way. We’ve covered the basics of cake baking, from selecting the right ingredients to understanding the importance of precise measurements and temperatures.
Decorating your heart-shaped masterpiece allows for personal expression, whether through colorful frosting, textured designs, or edible embellishments. Each technique offers a way to make your cake as unique as the occasion it celebrates. We’ve also tackled common questions, providing clear, straightforward answers to help you achieve baking success.
Remember, baking is more than just following a recipe. It’s an act of love, a creative expression, and an opportunity to bring joy to those around you. The process we’ve outlined demonstrates that with a few simple tools and a dash of creativity, you can create something truly special. Whether for Valentine’s Day, an anniversary, or just because, a heart-shaped cake is a delightful way to show you care.
So, take these tips, techniques, and ideas, and embark on your baking adventure. With each step, you’re not only creating a delicious treat but also making memories that will last a lifetime. Happy baking!

