Introduction to Zebra Cake
The Allure of Zebra Cake
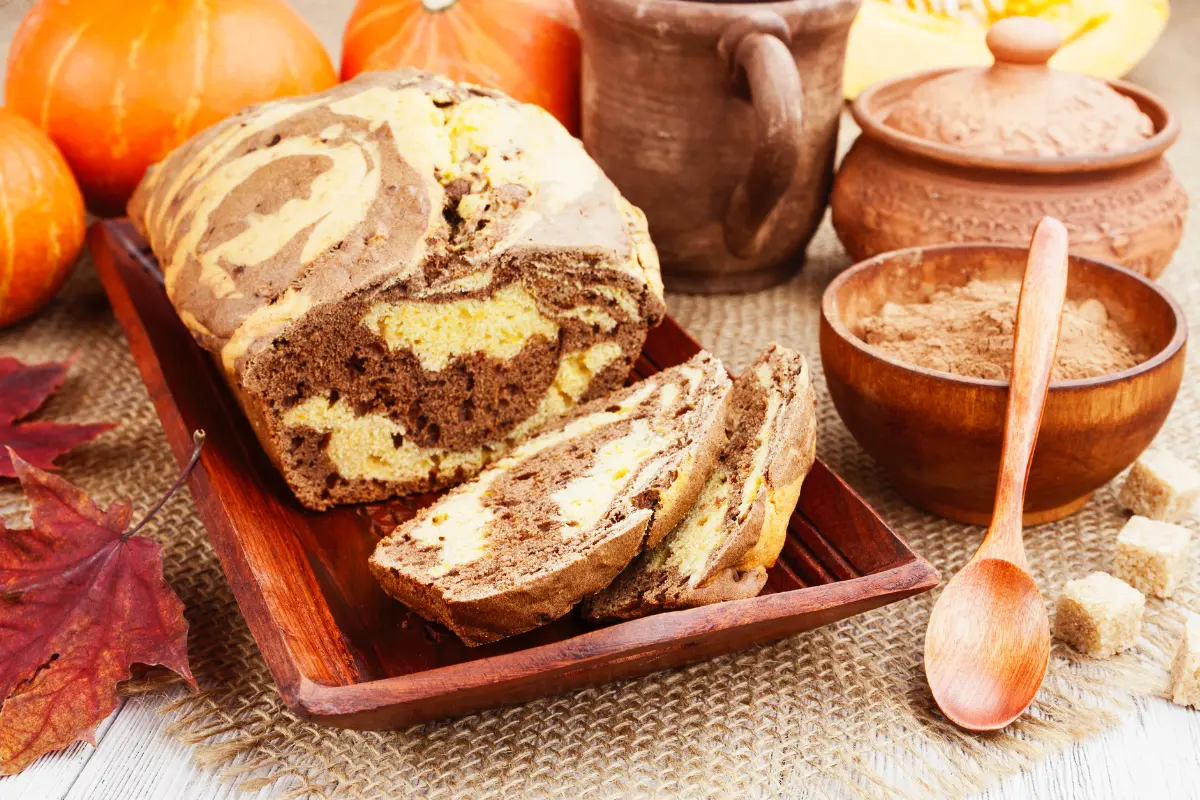
In the baking world, the zebra cake stands as a marvel, captivating us with its striking vanilla and chocolate stripes. This cake does more than delight our taste buds; it offers a visual feast with every slice showcasing a piece of art. It draws its inspiration from a simple yet ingenious idea: to blend two beloved flavors in a visually stunning manner. Thus, the zebra cake has become a favorite for both celebrations and comforting afternoons.
But, what is a zebra cake, you might wonder? Essentially, it’s a sponge cake that artfully combines the comforting flavor of vanilla with the rich depth of chocolate. This is done in a pattern that mirrors the iconic stripes of a zebra. Unlike the marble cake, where flavors swirl together, the zebra cake layers them meticulously for clean, alternating bands of color.
The origins of this delightful cake remain somewhat mysterious, lacking a definitive story. Many believe it evolved from the marble cake, as bakers sought a more visually striking variant. Over time, they perfected the technique of layering batters to achieve the iconic zebra effect, making the cake a modern showstopper.
In the world of baking, the zebra cake shines for its beauty and the joy it brings to the baking process. Making this cake feels like painting, where each layer you add is a stroke of creativity leading to a delicious masterpiece. So, let’s put on our aprons and dive into the exciting world of zebra cakes, where making it is as enjoyable as tasting it.
Understanding Zebra Cake
Ingredients Overview
Diving into the zebra cake recipe, we start with the ingredients. For the vanilla batter, you’ll need all-purpose flour, granulated sugar, unsalted butter at room temperature, eggs, sour cream, vanilla extract, baking powder, baking soda, and buttermilk. The chocolate batter shares most of these ingredients. However, it also includes unsweetened cocoa powder, a bit more sugar, and milk. The unique twist comes from a teaspoon of optional espresso powder, enhancing the chocolate flavor without overpowering it.
Tools and Equipment Needed
Now, let’s talk tools. Making a zebra cake doesn’t require fancy gadgets, but a few essentials will make the process smoother. First, you’ll need two mixing bowls to prepare the vanilla and chocolate batters separately. A set of 9-inch round cake pans is crucial for achieving the perfect shape. Don’t forget parchment paper rounds to line the pans for easy cake release.
A stand mixer or a hand mixer will save you time and effort in mixing the batters to the right consistency. A silicone spatula helps in folding and scraping, ensuring no batter goes to waste. To create the zebra pattern, a simple spoon or ladle will do for layering the batters. Lastly, a wire rack is essential for cooling the cakes before frosting.
Equipping yourself with these ingredients and tools sets the stage for a successful baking adventure. With everything ready, you’re well on your way to creating a stunning zebra cake that’s as beautiful as it is delicious. So, let’s get baking and bring this striped marvel to life!
Creating the Vanilla Base

Ingredients and Measurements
For the vanilla batter, gather your ingredients. You’ll need 3 and 1/2 cups of sifted all-purpose flour, 2 cups of granulated sugar, 1 and 1/2 cups of unsalted butter at room temperature, 5 large eggs, 1/3 cup of sour cream, 1 tablespoon of pure vanilla extract, 2 teaspoons of baking powder, 3/4 teaspoon of baking soda, and 1 and 3/4 cups of buttermilk. These ingredients ensure your cake is moist, fluffy, and full of flavor.
Step-by-Step Instructions
Let’s dive into making the vanilla batter. First, preheat your oven to 350°F (177°C). Then, grease your cake pans and line them with parchment paper. This preparation prevents the cake from sticking.
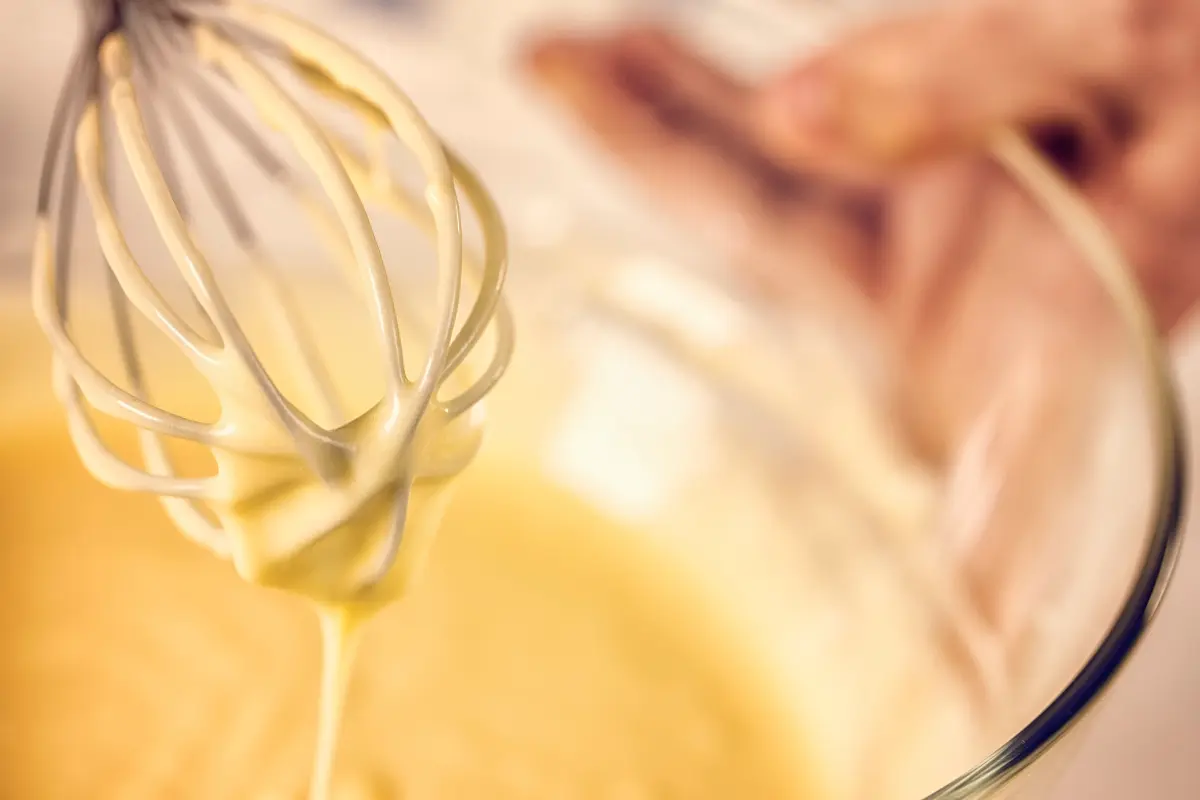
Start by whisking flour, baking powder, and baking soda in a large bowl. In another bowl, cream the butter and sugar together with a mixer until smooth and fluffy. This takes about 3 minutes. Next, add eggs one at a time, mixing well after each. Then, blend in the sour cream and vanilla extract.
Gradually add your dry ingredients to the wet mixture, alternating with buttermilk. Start and end with the dry ingredients. Mix just until combined. Remember, overmixing can lead to a dense cake.
Pour the batter into the prepared pans. Smooth the tops with a spatula. Now, your vanilla base is ready to bake and to later transform into the zebra pattern. Bake for 25-27 minutes or until a toothpick comes out clean. Then, let the cakes cool on a wire rack.
This simple yet precise method ensures your vanilla base is perfect. With this foundation, you’re all set to add the chocolate layers and create the iconic zebra stripes.
Crafting the Chocolate Stripes

Modifying the Vanilla Batter for Chocolate
To create the chocolate batter, you start with the vanilla base. Take about half of your vanilla batter and pour it into a separate bowl. This split is your first step toward those striking chocolate stripes.
Ingredients and Adjustments
For the chocolate transformation, add 1/3 cup of unsweetened cocoa powder to the separated batter. Then, mix in 2 tablespoons of granulated sugar and 2 tablespoons of milk or buttermilk. This helps maintain the batter’s moisture despite the dry cocoa. If you like, a teaspoon of espresso powder can enhance the chocolate flavor without making it bitter.
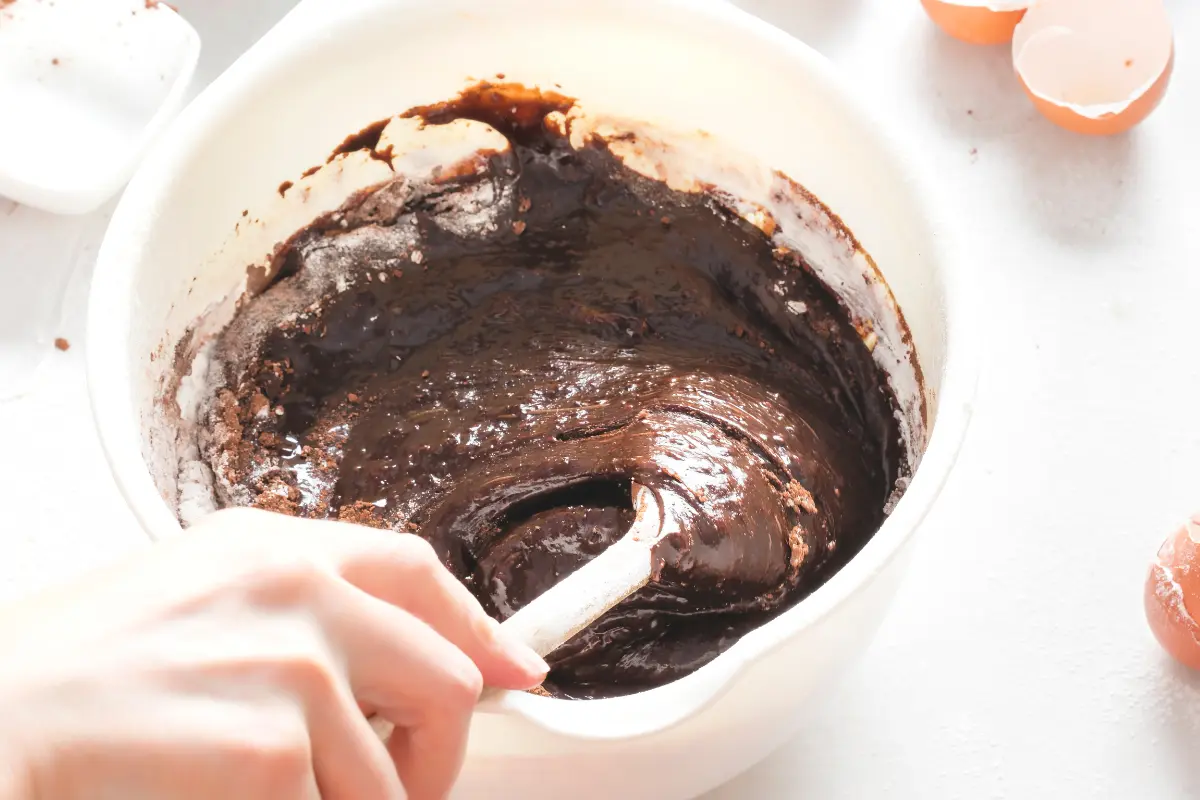
Now, combine these ingredients with the vanilla batter. Mix until you achieve a uniform chocolate color. A few lumps are okay; they won’t affect the final cake. What’s crucial here is the consistency and color contrast between the two batters.
This process isn’t just about adding cocoa. It’s about balancing flavors and textures. The additional sugar compensates for the cocoa’s bitterness, and the milk ensures the batter remains as moist as the vanilla part. This attention to detail is what makes the zebra cake not only beautiful but delicious.
With your chocolate batter ready, you’re set to layer it with the vanilla batter. This step will create the iconic zebra stripes that give this cake its name and charm. Follow these adjustments closely, and you’ll have a perfectly moist and flavorful chocolate layer to contrast with the vanilla. Now, let’s move on to the exciting part of layering and baking!
Achieving the Zebra Effect
Detailed Layering Process
Creating the zebra stripes is simpler than it seems. Start with your cake pans ready. Take a spoon and add a dollop of vanilla batter to the center of a pan. Then, directly on top of that, pour a spoonful of chocolate batter. Continue this process, alternating between vanilla and chocolate. Each new spoonful spreads the previous one out, creating the layered effect.
Tips for Perfect Stripes
For those perfect stripes, patience and a steady hand are key. Keep the spoonfuls even in size. This consistency is crucial for uniform stripes. If the batter doesn’t spread on its own, gently shake the pan to help it along. Don’t swirl or stir! The beauty of the zebra cake lies in its clean, distinct layers.
Another tip is to fill the pans equally. This ensures even baking and uniform layers. Also, a level oven is important. An uneven oven can cause the batter to shift, distorting your stripes.
Finally, don’t rush the baking process. A correctly heated oven will give your cake the gentle rise it needs. This patience pays off when you slice into the cake to reveal those stunning stripes.
Following these steps and tips, you’ll master the zebra cake’s signature look. It’s all about alternating the batters and letting the oven do the rest. With practice, you’ll get those eye-catching stripes that make the zebra cake a crowd-pleaser.
From Oven to Table
Baking Tips for a Moist Cake
For a moist zebra cake, even baking is key. Set your oven to 350°F (177°C) and place the pans in the center. This spot ensures even heat distribution. Bake for 25-27 minutes. Check doneness with a toothpick; it should come out clean. Let cakes cool in the pans for 10 minutes. Then, move them to a wire rack to cool completely. Cooling prevents the frosting from melting when you apply it.
Assembling Layers and Frosting
Assembling a zebra cake is like building a masterpiece. First, ensure all layers are cool. If the tops are domed, trim them with a serrated knife to create flat surfaces. This step ensures your cake layers sit perfectly on each other.
Start with the bottom layer on your cake stand or plate. Spread a layer of frosting over it. Be generous but even. Place the next cake layer on top. Repeat with frosting and then add the final layer. Now, cover the entire cake with a thin crumb coat of frosting. This coat catches any loose crumbs. Chill the cake for 30 minutes in the fridge to set the crumb coat.
After chilling, apply the final layer of frosting. Use a spatula or knife to smooth it out. For the sides, hold your spatula vertically and spin the cake stand slowly. This technique gives your cake a professional finish.
Decorate as you like. You could add chocolate shavings, sprinkles, or leave it sleek and simple. The beauty of a zebra cake lies in its stripes inside, so the outside decoration can be as minimal or elaborate as you wish. Once frosted, your zebra cake is ready to delight. Slice it to reveal the beautiful stripes, serve, and enjoy the fruits of your labor!
The Ultimate Frosting
Ingredients and Preparation
For the chocolate cream cheese frosting, you’ll need full-fat brick cream cheese, unsalted butter (both softened to room temperature), confectioners’ sugar, unsweetened cocoa powder, pure vanilla extract, and a pinch of salt. Optionally, you can add milk or heavy cream to adjust the consistency.
Begin by beating the cream cheese until it’s smooth and creamy. Next, add the softened butter and beat them together until they’re well combined. Gradually sift in the confectioners’ sugar and cocoa powder, then add the vanilla extract and salt. Mix everything until the frosting is smooth and spreadable. If it’s too thick, a tablespoon of milk or heavy cream at a time can loosen it up.
Frosting and Decorating Tips
When frosting your zebra cake, patience is key. Start with a crumb coat—a thin layer of frosting that seals in crumbs. Let the cake chill for about 30 minutes in the refrigerator to set this layer. After chilling, add the final layer of frosting. Use a spatula for the top and sides, aiming for a smooth finish.
For decoration, let your creativity shine. You could pipe designs, add sprinkles, or arrange fruit on top. Remember, the inside of the cake will impress with its zebra stripes, so you don’t need to overdo the exterior. The contrast between the rich, tangy frosting and the sweet, fluffy cake creates a balance that makes each bite delightful.
This chocolate cream cheese frosting not only complements the flavors of the zebra cake but also adds a luxurious texture. Its creamy, velvety consistency makes spreading a joy, and its rich chocolate taste elevates the overall flavor profile. With these tips, you’ll have a beautifully frosted zebra cake that’s as delicious to eat as it is to look at.

